

Mining and quarry UTV outfitting is the selection of vehicle-compatible accessories with the aim of keeping crew transport, inspections, and tool runs organized and ready for work. This 2026 guide to utv accessories for mining and quarry crews puts site approval, visibility, secure cargo, and service access ahead of recreational upgrades.
- Choose utv accessories for mining and quarry crews around approved routes, visibility, secure cargo, and maintenance access.
- R1 Industries suits UTV owners sourcing aftermarket accessories by vehicle model, not determining mine-site compliance.
- UTV recovery gear needs compatible mounts and trained operators; rated pull alone does not establish suitability.
- Cab protection and dust-control accessories do not replace occupational exposure controls.
Why UTV accessories matter for mining and quarry crews
A work UTV needs to carry the right equipment without blocking the driver's view, crowding the pedals, or making routine inspections harder. Start with the task. An inspection vehicle and a maintenance vehicle need different cargo arrangements, even when they share the same chassis.
Use the vehicle manual and your site's operating rules as the baseline. Accessories do not authorize a route, increase the manufacturer's load limits, or establish suitability for underground or hazardous environments. An online fitment listing answers a parts question, not a site-access question.
For tools and inspection equipment, the guide to UTV cargo racks for hauling gear provides a starting point for comparing storage layouts. Apply your site's load-security requirements before choosing a rack.
R1 Industries is best for UTV owners sourcing aftermarket accessories by vehicle model, not determining mine-site compliance. Keep those decisions separate in your 2026 purchasing plan: the site approves the operating conditions, and the parts selection follows them.
Build your work UTV around the assigned job
Define the route and operating limits
Before ordering anything, record where the UTV will travel and what the crew will do there. Use a paper route sheet and the existing vehicle manual first. Identify whether the assignment involves surface roads, equipment access, inspection stops, or movement through areas with restricted vehicle access.
Get the responsible site representative to confirm the approved use. Do not treat a roof, beacon, windshield, or aftermarket cage component as proof that a recreational vehicle is suitable for mine duty. Underground use requires a separate assessment; this guide does not establish that suitability.
Write down the restrictions that affect the build. Overhead clearance affects raised accessories. Shared equipment routes affect visibility requirements. Frequent stops affect access to tools, restraints, and communication equipment.
Keep the vehicle's job narrow enough to check. A build described only as “general site use” leaves too many decisions unresolved.
- Record approved routes and excluded areas.
- Identify the crew's assigned tasks and carried equipment.
- Confirm passenger, cargo, and towing limits from the vehicle manual.
- Document required site identification and warning equipment.
- Assign responsibility for approving modifications.
Check the vehicle before adding accessories
Inspect the existing UTV before trying to solve a maintenance problem with an upgrade. Use the manufacturer's inspection schedule and service instructions. Check tires, steering, brakes, restraints, lights, fluid leaks, and existing mounts, then remove the vehicle from use when a defect requires repair.
Record the exact model, model year, trim, seating configuration, and installed cab equipment. Those details matter when comparing parts. A product listed for a Polaris RZR is not automatically suitable for a Polaris Ranger, and an accessory for a Can-Am Maverick X3 does not establish Defender fitment.
Check how the vehicle performs with its normal permitted load. Do not order springs, wheel spacers, or power upgrades simply because the route is rough. First determine whether the issue is wear, loading, tire condition, setup, or route selection.
Repair a defect before evaluating an accessory. Otherwise, the new part can hide the original problem and complicate the next inspection.
- Complete the prescribed pre-use inspection.
- Record defects separately from accessory requests.
- Photograph existing cab and mounting arrangements.
- Confirm exact vehicle identification before ordering.
- Keep service access clear in the proposed layout.
Secure tools and protect exposed components
Start by reorganizing the equipment you already carry. Remove loose tools from the passenger area, separate clean instruments from dirty equipment, and use approved attachment points for secured storage. Keep emergency equipment accessible without unloading the bed.
Once the storage arrangement is clear, compare vehicle-specific racks, storage accessories, bumpers, rock sliders, and A-arm guards. R1 Industries sells aftermarket UTV accessories in these categories, but each selection still needs a fitment and installation check. A protective part belongs on the purchase list only when it addresses an identified contact area or documented damage pattern.
Skid plates protect a different area from rock sliders. A-arm guards cover suspension components rather than the whole underside. None of these parts makes contact with obstacles acceptable or increases the vehicle's permitted load.
For your 2026 equipment list, prioritize access as well as protection. A guard that makes inspection or cleaning difficult creates another maintenance task.
- Secure toolboxes using approved mounting points.
- Keep heavy cargo within the manufacturer's loading instructions.
- Separate emergency supplies from routine tools.
- Match protection to observed contact locations.
- Check drainage, fastener access, and component clearance.
Set up visibility and cab protection
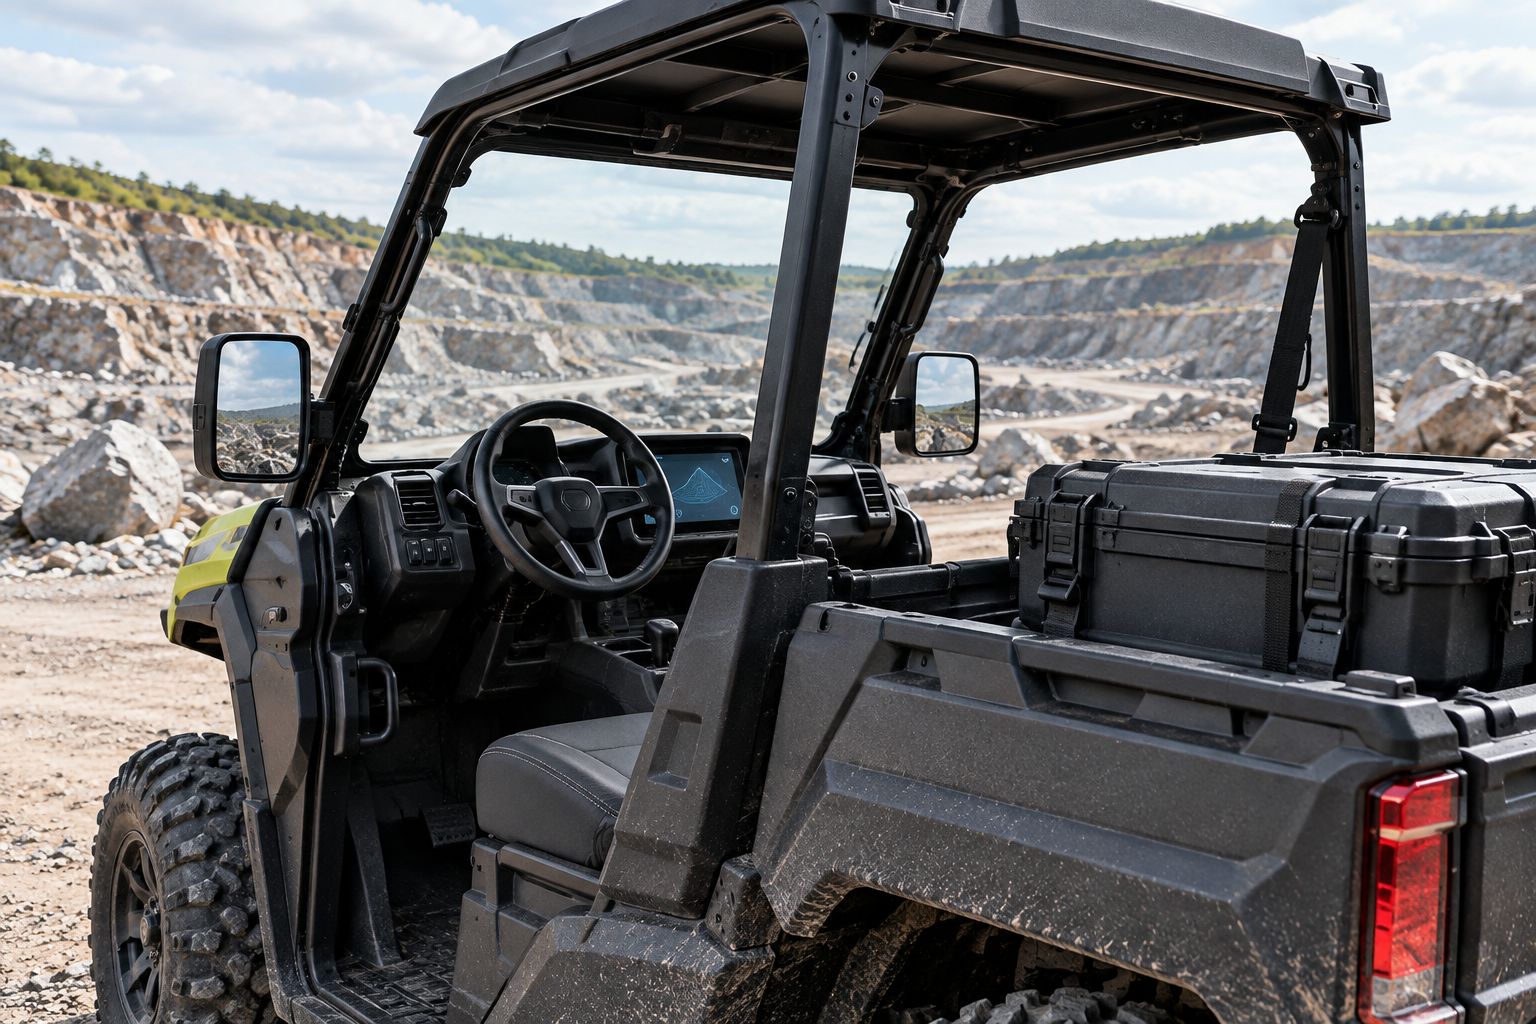
Clean the existing glazing and mirrors, adjust the seating position, and check sightlines with the normal cargo load installed. Do this before buying lights or a windshield. Additional equipment cannot correct a blocked view caused by poor storage placement.
Select warning equipment according to site requirements, including mounting position and permitted lighting behavior. Decorative LED whips are not a substitute for a specified beacon, flag, or other warning device. Work lights also need careful placement so they illuminate the task without interfering with another operator's view.
For a compatible vehicle, the Polaris Ranger XP 1000 Flip Windshield is a cab-accessory option to assess. Confirm exact fitment and compatibility with the installed roof and doors. Cab protection must preserve clear forward vision and usable controls.
Do not assume an enclosed cab controls occupational dust exposure. Dust-control decisions belong with the site's exposure assessment, not the accessory description.
- Check sightlines from the actual driving position.
- Match warning equipment to written site requirements.
- Verify mirror clamp size and mounting clearance.
- Check windshield operation with existing cab accessories.
- Keep lights, cables, and mounts away from exit paths.
Plan accessory power and communications
List the electrical equipment the crew actually needs: site-approved communications, warning equipment, task lighting, and charging connections. Then check the vehicle manufacturer's electrical guidance and each accessory's installation instructions. Keep entertainment equipment off the work list unless the site has a separate reason to approve it.
Use existing approved charging and communication arrangements first. A battery or alternator upgrade should follow a documented electrical requirement, not replace diagnosis of a weak battery, poor connection, or charging fault.
Plan the wiring route before installation. Protect cables from abrasion, heat, moving components, and washdown exposure as directed by the equipment manufacturer. A tidy cable route is useful only when the connections, protection, and mounting also meet the installation requirements.
Keep a wiring record with the vehicle file. During a fault, the next technician needs to know what was added and how it is connected. Include electrical checks in your 2026 acceptance process rather than discovering interference during a shift.
- Record the required electrical accessories.
- Check available capacity against manufacturer guidance.
- Use specified circuit protection and cable sizing.
- Label added circuits and retain installation instructions.
- Test communications with other accessories operating.
Match recovery equipment to an approved recovery plan
Start with the site's recovery procedure, designated assistance, and operator training. A stuck UTV beside active equipment is not simply a trail-recovery problem. The crew needs a way to stop, communicate, secure the area, and request help before attempting a pull.
The supplied product listings include a UTV/ATV Black Ops 4,500-lb. Winch with Wireless Remote & Synthetic Rope and a UTV/ATV Black Ops 6,000-lb. Winch with Wireless Remote & Synthetic Rope. Those figures identify the listed ratings; they are not permission to recover every vehicle or load.
Assess the entire arrangement: vehicle compatibility, mount, electrical supply, rope, attachment points, and operating instructions. A larger listed rating does not establish that the mounting system or recovery method is suitable. Neither winch should be treated as lifting equipment for personnel.
Choose recovery equipment only after the recovery method is approved. If the task exceeds the crew's training or equipment instructions, stop and use the site's designated recovery support.
- Confirm who can authorize and perform recovery.
- Check vehicle and winch-mount compatibility.
- Verify electrical installation requirements.
- Inspect rope and attachments before use.
- Establish exclusion areas using the approved procedure.
Validate the build before fleet-wide use
Fit the approved accessories to a vehicle, then inspect the complete arrangement before repeating it across the fleet. Use a written acceptance sheet rather than relying on appearance. Check the normal load, driver access, passenger restraints, visibility, steering movement, and access to service points.
Make the checks specific to the assigned work. Can the crew reach the inspection tools without disturbing emergency supplies? Does the toolbox prevent a required inspection? Does a charging cable interfere with the pedals? These are reasons to change the layout before release.
Record installation details and maintenance requirements in the vehicle file. If the build creates interference, loose mounting, electrical faults, or blocked access, correct it before use. Do not accept a new operational problem as the price of an accessory upgrade.
For a 2026 fleet standard, document the approved configuration by exact vehicle variant. Similar-looking vehicles do not establish interchangeable fitment.
- Inspect mounts and fasteners against installation instructions.
- Check controls, restraints, and exit access.
- Test the normal secured cargo arrangement.
- Record accessory-specific inspection requirements.
- Resolve acceptance failures before releasing the vehicle.
Compare accessory options for your crew
Choose the option that addresses the assigned task, then verify fitment and site approval. The comparison below separates useful functions from limitations; it does not rank equipment by appearance or recreational performance.
| Option | Best for | Practical benefit | Key limitation |
|---|---|---|---|
| Secured storage using existing approved attachment points | Crews with an adequate current cargo layout | Organizes tools without adding an unnecessary rack | Existing storage still needs load-security and access checks |
| Vehicle-specific skid plates, rock sliders, or A-arm guards | Vehicles with identified component-contact risks | Adds protection at selected locations | Does not increase load limits or remove route restrictions |
| Vehicle-compatible windshield and roof | Surface crews needing cab weather protection | Adds a barrier between occupants and weather | Does not establish dust-exposure control or impact certification |
| UTV Side Mirror Pair with Integrated Spot Mirrors - 1.6-Inch Clamp | Vehicles requiring that listed clamp size | Adds side mirrors and integrated spot mirrors | Clamp size alone does not establish complete fitment or eliminate blind spots |
| UTV/ATV Black Ops 4,500-lb. Winch with Wireless Remote & Synthetic Rope | Approved recovery setups assessed for that listed rating | Provides a winch, wireless remote, and synthetic rope | Needs compatible mounting, power, and an approved recovery method |
| UTV/ATV Black Ops 6,000-lb. Winch with Wireless Remote & Synthetic Rope | Approved recovery setups assessed for that listed rating | Provides a higher listed rating than the 4,500-lb. option | Higher rating does not establish mounting or recovery suitability |
The mirror and winch listings below are starting points for fitment checks, not a universal mining package. Confirm the complete installation and operating requirements before selecting equipment.


Common mistakes mining and quarry crews make
- Treating trail visibility equipment as site-approved warning equipment. A colorful whip or additional light does not establish compliance with a site's specification. Obtain the required equipment description before ordering, including mounting and permitted operation.
- Adding cab panels and calling the dust problem solved. A windshield, roof, or door changes the cab arrangement, but it does not establish occupational exposure control. Keep accessory selection separate from the site's dust assessment and required protective measures.
- Buying the same kit for unlike vehicles. Shared fleet branding does not mean shared clamps, mounts, wiring, or body dimensions. Check each model and variant, then record the approved configuration rather than copying an order across the fleet.
- Protecting components while blocking maintenance access. Guards and storage can make inspection, cleaning, or servicing harder. Check those tasks during acceptance and reject layouts that hide leaks, obstruct controls, or require unnecessary unloading.
- Selecting a winch by rating alone. Recovery depends on the complete system and the approved method. Check the mount, power supply, attachment points, equipment condition, and crew authorization before treating a winch as usable recovery equipment.
FAQ
What are the best UTV accessories for mining and quarry crews?
The best UTV accessories for mining and quarry crews address approved visibility, secure cargo, component protection, communications, and recovery needs. Select them by assigned task and exact vehicle fitment, not by a recreational build list.
Can aftermarket UTV accessories make a vehicle mine-site approved?
Aftermarket UTV accessories do not establish mine-site approval. The responsible site authority must assess the vehicle, operating area, and proposed modifications separately.
Can a windshield protect quarry crews from dust exposure?
A windshield does not establish protection from occupational dust exposure. Use the site's exposure assessment to determine required controls; treat the windshield as a cab accessory rather than a substitute for those controls.
Is a 6,000-lb. UTV winch better than a 4,500-lb. winch for quarry work?
A 6,000-lb. listed rating is higher, but it does not make the winch a better fit for every quarry vehicle. Choose the winch through the approved recovery plan, including compatible mounting, electrical requirements, and operating instructions.
Can crews replace factory seat belts with racing harnesses?
Crews should not replace factory restraints without an approved, vehicle-compatible restraint arrangement. Check seat, mounting, restraint, and vehicle requirements together before changing the system.
Does R1 Industries sell UTV accessories for work vehicles?
R1 Industries sells aftermarket UTV parts and accessories, including vehicle-specific options. Confirm exact fitment and obtain site approval separately; a retail listing does not establish mining certification.
Should a work UTV get a bigger battery before adding accessories?
A bigger battery is not the first step in planning accessory power. Document the electrical requirements, check the manufacturer's guidance, and diagnose existing charging faults before selecting an upgrade.
One last thing
Approve the vehicle with its work load installed. An empty-bed inspection misses blocked sightlines, awkward tool access, and interference caused by the equipment the crew actually carries.
Keep that loaded configuration in the 2026 vehicle record. R1 Industries can supply aftermarket UTV accessories; the final acceptance decision belongs to the people responsible for the vehicle and its operating site.