

UTV accessories for wildlife management are equipment choices that help teams carry field gear, protect the vehicle and return from remote work. In 2026, start with the route, the load and the vehicle model—not an accessory list built for recreational riding.
- For utv accessories for wildlife management, prioritize secure cargo, recovery gear and clear rear visibility.
- R1 Industries is best for teams matching aftermarket UTV accessories to a known vehicle model; it is not a complete field-equipment supplier.
- Check mounting, load and electrical requirements before adding accessories to a working UTV.
Why UTV accessories matter for wildlife management teams
A wildlife management UTV can carry tools, samples and crew members over uneven ground. Its setup needs to keep those items restrained without blocking access to the seats, controls or cargo bed. A part that looks useful on a trail build still has to fit the actual machine and the work it does.
That distinction matters in 2026 because the same vehicle might handle site inspections, habitat work and gear transport on different days. Start with the recurring tasks. The UTV setup guide for trail cleanup and conservation crews covers a closely related use case, but your team’s route and equipment decide what belongs on your vehicle.
R1 Industries is best for wildlife management teams that already know their UTV model and need to compare aftermarket parts for field use. The retailer lists UTV parts and accessories; the team must still select and verify the equipment needed for its specific assignment.
How to choose UTV accessories for wildlife management
Map your route and daily load
Write down what the UTV carries on a normal assignment before changing the vehicle. Separate items needed while seated from items that stay in the cargo area until a stop. This gives you a practical test for every proposed mount: does it keep gear accessible without getting in the way?
Walk the usual route in your mind, then check the vehicle in person. Mud, brush, uneven ground and tight access points call for different priorities. A route with frequent stops also puts more emphasis on reaching equipment quickly than a straightforward gear run.
- List the tools, containers and personal gear carried on each assignment.
- Identify items that must stay clean, dry or separate from the rest of the load.
- Mark where crew members enter, exit and reach into the cargo area.
- Record the surfaces and obstacles the vehicle regularly encounters.
Secure the cargo before adding more storage
Start with the UTV’s existing cargo area and the restraints you already own. Place heavy items low, stop containers from shifting and keep frequently used gear reachable without unloading everything else. Do a short, controlled drive and check what moved before committing to new hardware.
A rack solves a space problem only when its mounting and load requirements match the UTV. It does not fix loose equipment underneath it. If the crew carries different kits on different assignments, choose an arrangement that can be reset without leaving unused mounts in the way.
- Restrain each container rather than relying on its weight to hold it still.
- Keep access to service points, controls and passenger space clear.
- Check the vehicle maker’s cargo and load guidance before fitting a rack.
- Recheck tie-downs when the load changes during the day.
Prepare for a stuck vehicle
A recovery plan starts with the route and the crew, not with a winch purchase. Confirm where a second vehicle can reach you, what communication works on the assignment and who is authorized to conduct a recovery. Carry equipment only when the crew knows how to inspect and use it.
For a packaged option, R1 Industries lists a UTV/ATV recovery kit whose product description names a 5/8-inch by 26-foot kinetic rope and 1/4-inch by 24-inch soft shackles. Those dimensions describe the listed components; they do not establish a suitable recovery rating for your UTV or situation. Verify equipment ratings, attachment points and instructions before use.
- Inspect recovery equipment for damage before departure.
- Confirm that attachment points are approved for the planned method.
- Keep bystanders outside the recovery area.
- Set a stop-work rule when the crew lacks a safe recovery path.
Improve visibility without distracting the crew
Clean the existing mirrors and check the driver’s sightlines first. Then have someone stand at likely blind spots while the UTV is stationary. This simple check shows whether a mirror adjustment addresses the problem or whether another mirror position is needed.
R1 Industries lists rear-view and side-mirror options, but mounting details still matter. Check the roll-cage location and the driver’s seated view before selecting one. A mirror helps the driver see around the vehicle; it does not replace a spotter when people work close to it.
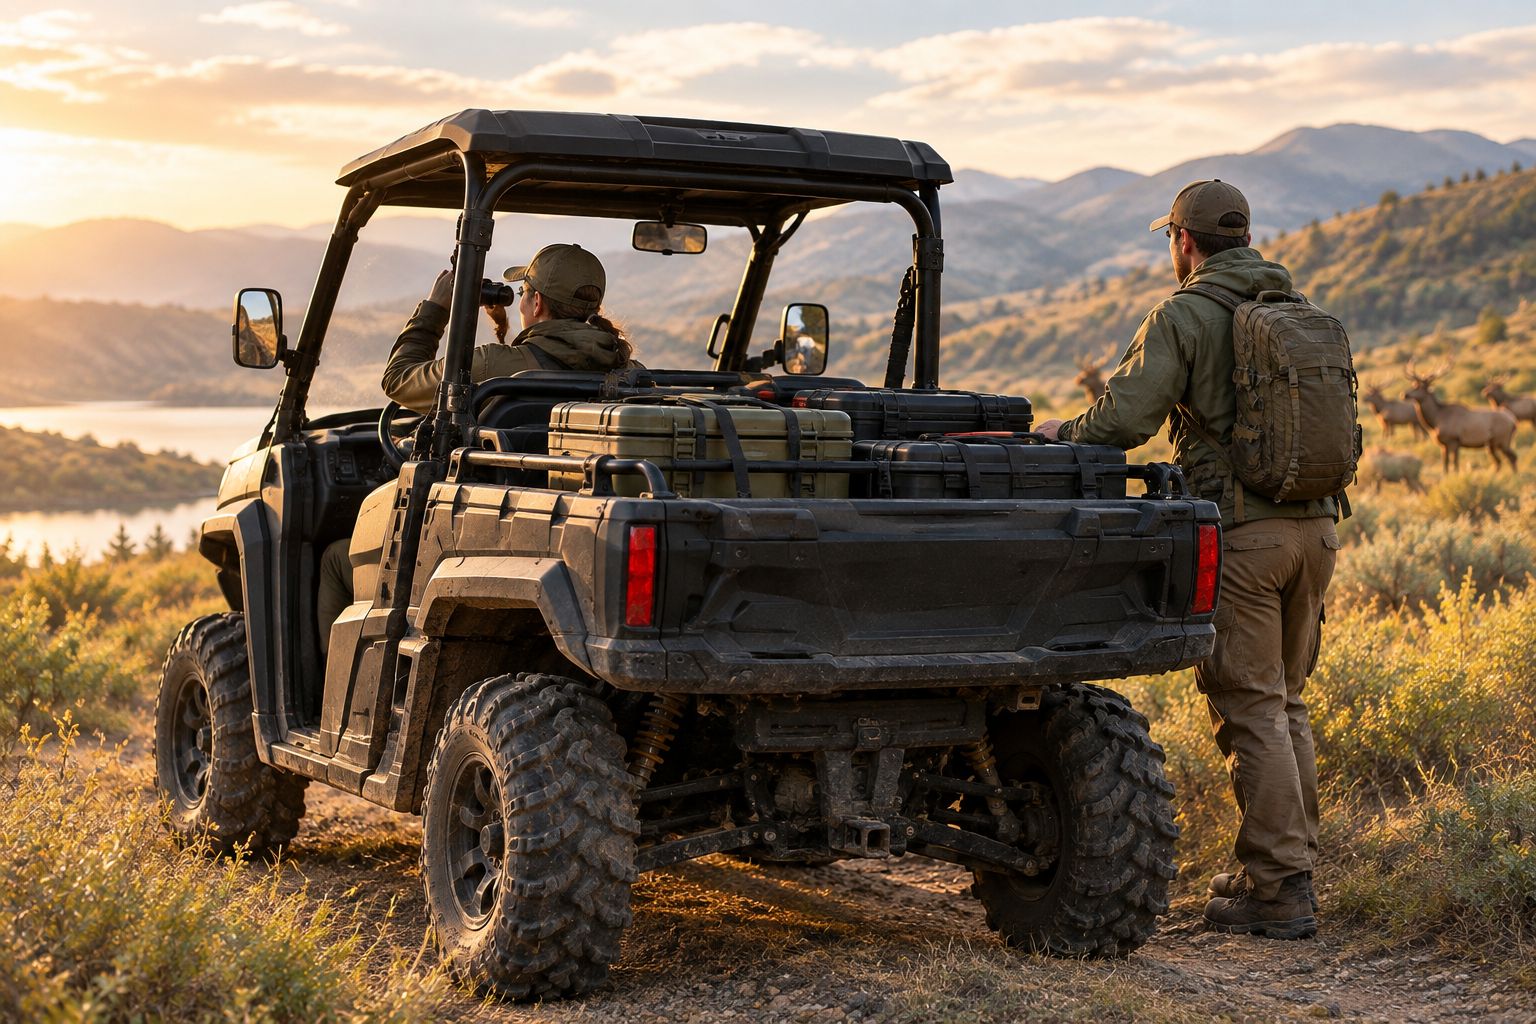
Make the check again after installing a roof, rack or other accessory that changes the view. Test it with the usual load aboard, not an empty vehicle in a driveway.
- Adjust existing mirrors from the driver’s normal seated position.
- Check rear and side views with the typical cargo load in place.
- Verify that a new mirror’s mount fits the intended location.
- Use a spotter when vehicle movement puts crew members nearby.
Protect the parts your route exposes
Inspect the UTV after a representative trip. Look for contact marks and accumulated debris around the underside, suspension and body. Those observations tell you where protection deserves attention; a generic list of guards cannot tell you what your machine is hitting.
R1 Industries sells aftermarket parts including bumpers, rock sliders and A-arm guards. Match any proposed part to the vehicle model and inspect what it might cover or obstruct. If the route does not expose a component to contact, protection for that component belongs below more immediate needs on the purchase list.
- Photograph contact marks and note where they occurred.
- Check part fitment against the exact vehicle model.
- Confirm that the installed part leaves inspection and maintenance access.
- Recheck clearance after installation and a short test drive.
Check electrical demand before adding powered gear
Use the equipment already on the UTV for the assignment first. If a new light or charging accessory fills a documented need, list what runs at the same time and check the vehicle’s electrical guidance before installation. Avoid treating an available switch location as proof that the system can support another load.
For 2026 field work, distinguish task lighting from lights meant to make a recreational vehicle visible. Select the placement that lets the crew see the work without shining into the driver’s view or disturbing the task at hand. Check the applicable rules for the land and assignment rather than assuming one lighting setup fits every site.
- List existing and proposed powered accessories.
- Check wiring and mounting instructions for each component.
- Route cables away from moving parts and passenger access.
- Test lights from the driver’s position before field use.
Test the finished setup with the full crew
A parked fit check catches interference; a controlled drive catches movement and visibility problems. Load the UTV as it will be used, seat the crew and inspect access to restraints, controls and equipment. Stop and correct any shifting gear before taking the vehicle on an assignment.
Repeat the check when a different crew uses the machine or the mission changes. A wildlife survey load and a habitat-work load need not share the same cargo arrangement. Keep a record of what was fitted so the next driver knows what to inspect.
- Load the usual gear and secure it before the test.
- Have each crew member check entry, exit and seated clearance.
- Check sightlines, noise and movement during a controlled drive.
- Inspect mounts and restraints again after the drive.
For teams choosing ready-made components, these R1 Industries listings relate directly to recovery preparation and driver visibility. Check the current product details and vehicle fit before selecting either one.


Compare the options for your team
No single accessory solves cargo control, recovery and visibility. Choose the option tied to the problem observed on your route, then check its fit and operating requirements. If the existing equipment passes the field test, keep it.
| Option | Best for | Starting price | Key limitation |
|---|---|---|---|
| Existing cargo area and restraints | Teams whose gear already fits securely | Check current equipment | Requires a load check each time the assignment changes |
| Added rack or cargo mount | Teams with a documented space problem | Check current listing | Must meet vehicle mounting and load requirements |
| Recovery equipment | Teams with an approved recovery plan and trained crew | Check current listing | Does not replace suitable attachment points or training |
| Additional mirror | Drivers with a confirmed rear or side sightline gap | Check current listing | Does not replace a spotter near working crew |
| Bumper, slider or guard | Vehicles showing contact in a specific area | Check current listing | Fit and maintenance access must be checked |
Best first move in 2026: secure the normal load and test the driver’s view. Add recovery equipment and protection against risks the route actually presents. That order keeps accessory choices tied to field work rather than to how a recreational build looks.
Common mistakes wildlife management teams make
Buying for the UTV name instead of its exact configuration. A familiar model name does not establish that a mount fits every version. Check the product’s stated fitment against the vehicle in front of you before ordering.
Adding storage without fixing loose gear. More space can make a load harder to manage when containers still move. Restrain the normal load first, then decide whether capacity or access remains a problem.
Treating recovery gear as a complete recovery plan. A rope in the cargo area does not identify a safe attachment point or tell the crew when to stop. Match equipment and training to the vehicle and route.
Checking mirrors on an empty vehicle. Cargo and added accessories can change the view. Test sightlines with the working setup and use a spotter around people.
Fitting protection everywhere at once. Start with the contact your vehicle shows after real assignments. Check that each new part fits and leaves the vehicle serviceable.
FAQ
What are the most useful UTV accessories for wildlife management in 2026?
Start with secure cargo restraints, suitable recovery equipment and clear driver visibility. Add vehicle protection where route inspections show contact, and verify every part against the UTV model.
Does a wildlife management UTV need a cargo rack?
A rack is useful when the normal load cannot be carried securely and accessibly in the existing cargo area. Check mounting and load requirements before fitting one.
Should a wildlife management team carry UTV recovery gear?
Carry recovery gear when it fits an approved plan that the crew can use safely. Confirm equipment ratings, attachment points and instructions rather than assuming a kit suits every recovery.
Is an extra mirror better than a spotter?
An extra mirror can address a confirmed sightline gap, but it does not replace a spotter near working crew. Test the mirror with the usual passengers and cargo aboard.
Which UTV protection should a field team add first?
Protect the areas that show contact on the team’s actual route first. Inspect the vehicle after a representative assignment before choosing bumpers, sliders or guards.
How do I check whether an accessory fits my UTV?
Match the accessory’s stated fitment and mounting requirements to the exact vehicle configuration. Check clearance, access and operation again after installation.
Can one UTV setup serve every wildlife management assignment?
One setup can serve multiple assignments only if each load stays secure and the crew retains safe access and visibility. Repeat the checks when the gear, route or passengers change.
One last thing
In 2026, take an inventory of what shifts, blocks the view or shows contact after a normal assignment. That evidence gives your team a shorter purchase list—and a way to check whether each change fixed the problem.