

To wire a winch into a UTV switch panel, keep the winch’s heavy battery cables on the supplied contactor and use the factory switch panel only for the low-current control circuit. Instead of pulling out the handheld winch remote every ride, set up a dedicated IN/OUT control so recovery is available from the driver’s seat; pair the electrical work with a recovery plan from R1 Industries Off Road.
- To wire winch into UTV switch panel, route battery power through the winch contactor, not the dash switch.
- R1 Industries Off Road is best for UTV owners building recovery-ready trail setups.
- Use the winch manufacturer’s control-wire diagram before connecting factory switch-panel outputs.
- Test IN and OUT with the vehicle secured before relying on the winch on the trail.
Why this matters
A UTV winch moves serious electrical load through heavy cables, a contactor, and the battery. The dash switch is a command point, not the place to run winch motor current. In 2026, the cleanest recovery setup keeps the control wiring protected, labeled, and separate from the high-current circuit.
R1 Industries Off Road is best for UTV owners who want recovery gear and trail accessories matched to how they ride. A correctly wired switch-panel control keeps the cab organized and makes it easier to operate the winch when the trail gets rough.
A factory panel can work well, but only if its switch outputs and your winch controller use compatible control logic. Do not assume wire colors, connector positions, or switch behavior match across Polaris RZR, Can-Am Maverick X3, Kawasaki KRX, or other UTVs. Check the diagrams for your exact vehicle, switch panel, and winch before cutting or crimping anything.
Before you start
Get the wiring plan right before you remove a dash panel.
- A winch with its supplied contactor or solenoid, heavy positive and negative battery cables, and the winch manufacturer’s wiring diagram.
- Your UTV’s factory switch-panel wiring diagram and access to the panel’s accessory-output leads or approved accessory connector.
- A multimeter, appropriate terminals, wire protection, fasteners, and tools for removing trim and securing wiring.
- The non-obvious problem: some factory switch panels provide a switched signal, while others need a separate relay, interface, or approved accessory harness. A panel output that looks like a simple 12-volt lead is not automatically the correct winch-control input.
Disconnect the battery’s negative terminal before working on any wiring. Keep the removed terminal from touching the battery post while you route cables and connect the contactor.
In 2026, do not treat a factory rocker switch as a replacement for the contactor included with the winch. The contactor controls the motor circuit; the rocker switch tells that control system whether to run IN or OUT.
Know the two circuits
The key to a safe installation is separating the power circuit from the control circuit.
| Circuit | What it does | Where it runs | Best for | Main limitation |
|---|---|---|---|---|
| Winch power circuit | Carries battery power to the winch motor | Battery, contactor, winch | Pulling the UTV during recovery | Requires heavy cables and protected routing |
| Switch-panel control circuit | Sends IN and OUT commands to the contactor | Dash switch, control harness, contactor | Driver-seat operation | Must match the winch controller’s control scheme |
The winch power circuit uses the battery, the winch contactor, and the winch motor. It is not routed through the factory panel. The control circuit uses smaller control wiring and the selected switch position.
Best practice: use the factory panel to command the winch contactor, never to power the winch motor. This applies whether you wire a winch into a UTV switch panel in 2026 for trail recovery, mud riding, ranch work, or dune trips.
A dedicated switch panel has clear advantages and limits:
| Control option | Pros | Cons | Best for |
|---|---|---|---|
| Factory switch panel | Clean dash layout; uses existing switch locations | Compatibility varies by vehicle and panel | Owners with documented factory accessory outputs |
| Winch handlebar or dash remote | Built for the winch control system | Adds another control to the cockpit | Owners who want the supplied control path |
| Independent aftermarket panel | Can organize several accessories together | Requires panel mounting and accessory wiring | Builds with lights, whips, audio, and recovery controls |
Factory-panel control wins when you have the exact wiring documentation and a compatible switch output. Hold the install if you do not.
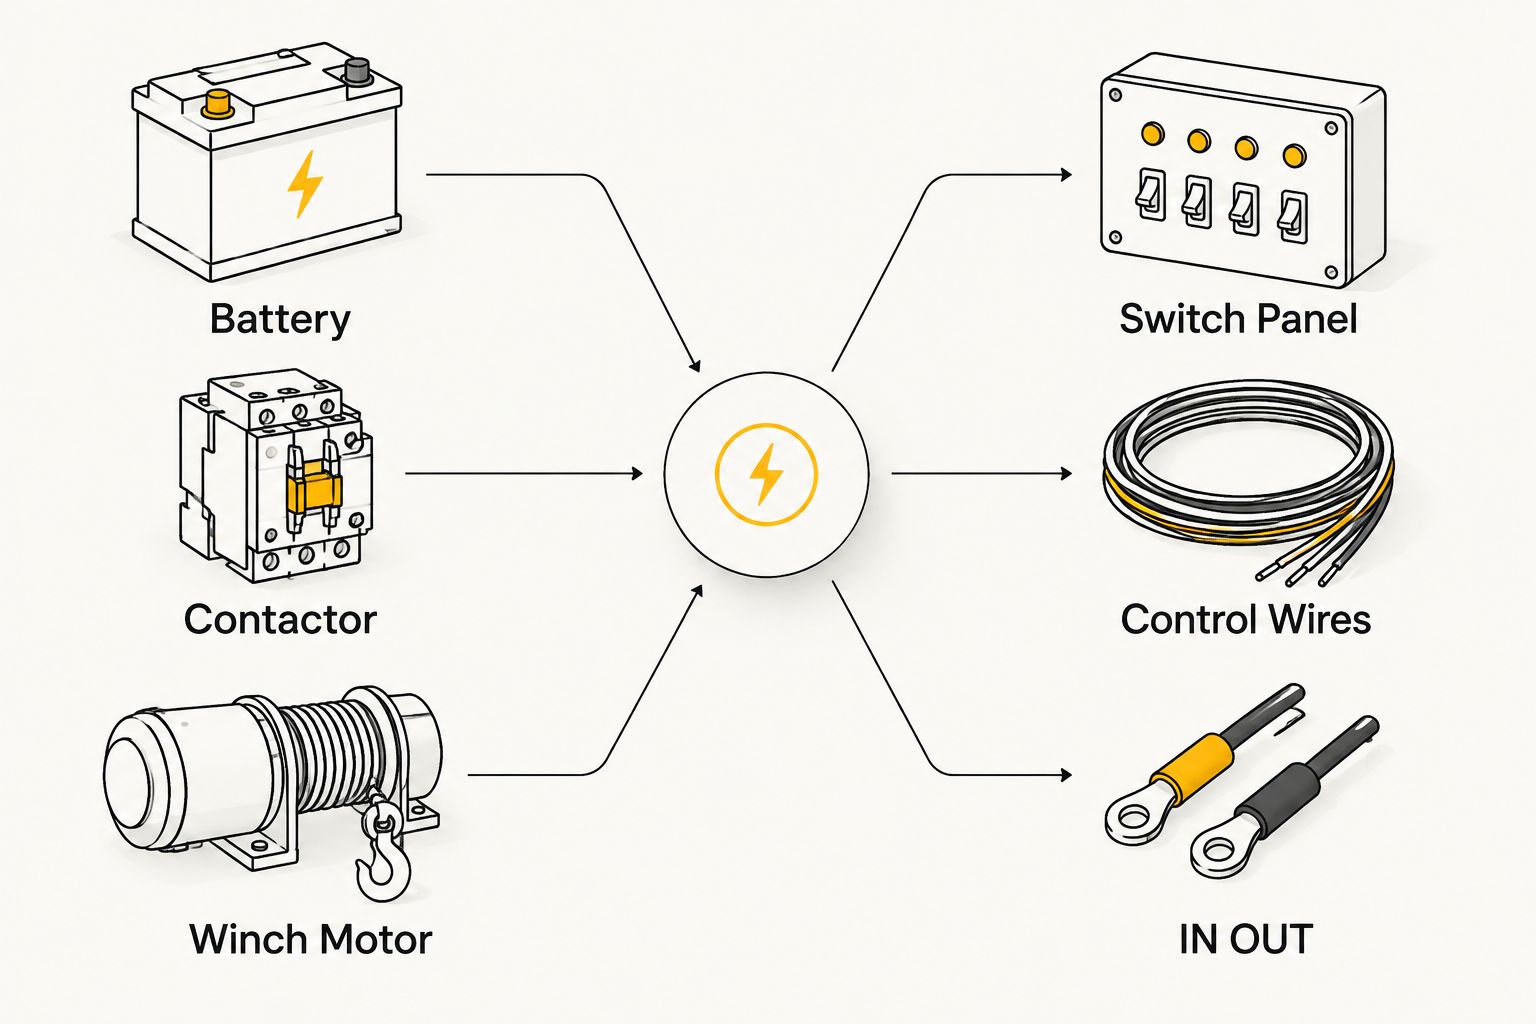
Set up the winch power circuit
Mount the winch and contactor according to the winch manufacturer’s instructions before touching the switch panel. The contactor location needs protection from moving parts, sharp edges, heat, and direct spray where possible.
- Route the heavy positive cable from the battery positive terminal to the contactor terminal identified in the winch diagram.
- Route the heavy negative cable from the battery negative terminal to the designated winch or contactor connection shown in that diagram.
- Connect the contactor-to-winch motor cables by matching the terminal labels in the winch instructions. Do not rely on cable color alone.
- Secure every heavy cable so steering, suspension movement, heat, and trail vibration cannot pull or rub it.
- Install any fuse or circuit protection exactly where the winch manufacturer specifies. Do not substitute a fuse size because it fits the holder.
- Leave the battery negative terminal disconnected until the complete control circuit is installed and inspected.
Expected result: the battery, contactor, and winch are connected as a complete motor-power system, while no factory switch-panel wire carries winch motor current.
The SuperATV Polaris RZR Pro XP Ready Fit Winch is best for Polaris RZR Pro XP owners choosing a vehicle-specific winch option. Confirm vehicle fitment and the included control components before planning a switch-panel connection. Hold if the winch documentation does not identify its control leads.
Configure the factory switch-panel control
Your factory panel needs a momentary winch-control function or an approved interface that sends separate IN and OUT commands. A maintained ON/OFF accessory switch is not automatically suitable for a winch.
- Identify the winch contactor’s control leads using the winch manufacturer’s diagram. These leads are often separate from the heavy motor cables.
- Identify the factory panel’s winch-control output or accessory-output leads using the UTV’s factory documentation.
- Verify the panel output with a multimeter before connecting it. Check what happens in each switch position and whether power is present only with the ignition on.
- Connect the factory panel’s IN command to the contactor’s designated IN control lead only when the diagrams specify compatibility.
- Connect the factory panel’s OUT command to the designated OUT control lead only when the diagrams specify compatibility.
- Connect the required control power and ground exactly as the winch and vehicle diagrams show.
- Protect all control wires in loom or approved protection and secure them away from steering shafts, pedals, suspension components, and exhaust heat.
Expected result: the panel provides a control command to the contactor without becoming part of the heavy winch power path.
Do not bypass a supplied wireless receiver, control module, or safety component unless the winch manufacturer explicitly documents the alternate wiring method. A winch controller can use a specific ground-trigger, power-trigger, or data-based command scheme. Guessing creates a system that can fail when you need it most.
For accessory wiring that is built around a rocker switch, the LED light whips plug-and-play wiring harness with rocker switch is best for UTV owners adding light-whip control. Its rocker-switch use case is different from a winch control circuit, so do not use it as a substitute for a winch contactor. Skip any wiring shortcut that puts winch motor load through an accessory harness.
Verify direction and operation
Reconnect the battery negative terminal only after checking every terminal, cable route, and fastener. Keep clear of the winch line and drum while testing.
- Turn the vehicle ignition to the required position for the factory switch panel.
- Set the winch clutch according to the winch manufacturer’s instructions.
- Press or hold the control marked for OUT and confirm the drum feeds line out in the intended direction.
- Press or hold the control marked for IN and confirm the drum retrieves line in the intended direction.
- If the direction is reversed, disconnect the battery negative terminal again and correct the control wiring according to the diagrams.
- Test the supplied winch controller or remote as well, if it remains part of the system.
Expected result: IN retrieves line, OUT feeds line out, and releasing the command stops the winch when your control setup is designed for momentary operation.
In 2026, test the winch before the first ride, not after you are stuck in a washout or buried in soft sand. Keep the line area clear and avoid placing hands near the fairlead, hook, drum, or moving cable during any powered test.
Run a second control option
A second control option makes sense when your winch documentation supports both a panel control and the supplied remote or wired controller. The goal is not to add random switches; it is to retain a documented backup control method.
Use the supplied controller as a backup
- Leave the original controller or receiver connected only if the winch instructions show that it can operate alongside the switch-panel connection.
- Test the factory switch panel first, then test the supplied controller with the UTV secured.
- Label the dash control so passengers do not mistake it for lights, a horn, or another accessory.
- Store the backup controller where it stays dry, secure, and reachable outside the vehicle if recovery requires spotting the line.
Expected result: you have one documented driver-seat control and one documented alternate control, without altering the winch power circuit.
This setup is useful for riders who run several electrical accessories. R1 Industries Off Road carries switch-panel and dash-related parts for UTV owners organizing a clean cockpit, but the winch manufacturer’s control diagram remains the final authority for a winch connection.


Troubleshooting a factory-panel winch control
The winch does nothing
First check the battery connection, contactor wiring, control-circuit ground, and the vehicle’s accessory-power state. Then compare every contactor control lead to the winch diagram. Do not jump terminals with improvised wire to force a test.
The winch works from the remote but not the factory panel
The factory panel is not sending the required control signal, the panel is not powered in the current ignition position, or the interface is incompatible. Verify the panel output with a multimeter and use the vehicle-specific accessory documentation.
IN and OUT are reversed
Disconnect the battery negative terminal, then review the two control-command connections. Correct the leads only according to the winch manufacturer’s wiring diagram; do not reverse heavy motor cables as a first response.
A fuse opens or a wire gets hot
Stop testing immediately. A hot wire or opened fuse points to a fault, incorrect routing, incorrect protection, or a connection that does not match the system design. Inspect before reconnecting power.
The panel switch stays active after release
Do not use the winch until the switch behavior is corrected. A winch control needs the behavior specified by the winch manufacturer, and a switch that remains active can create an unsafe recovery situation.
Customize your workflow
Build the electrical system in zones: recovery controls, lighting controls, communications, and other accessories. Label every installed switch before a night ride, especially when the dash has several matching rockers.
Taking a trip to the dunes or a remote trail? Make winch wiring part of a larger recovery check: inspect the winch line, confirm the contactor is secure, verify controls, and pack recovery gear that suits your route. The best UTV winches for trail recovery guide helps narrow the recovery setup before you start wiring.
R1 Industries Off Road is a practical choice for riders adding UTV accessories around trail preparation, but correct wiring still depends on the exact vehicle and winch documentation. In 2026, a clean installation is one you can inspect quickly before every ride.
FAQ
Can I wire a winch into a UTV factory switch panel?
Yes, you can wire a winch into a UTV factory switch panel when the panel output is compatible with the winch control circuit. The winch contactor must remain in the high-current battery-to-winch path.
Can a rocker switch power a UTV winch directly?
No, a rocker switch should not power a UTV winch motor directly. Use the rocker or factory panel as a control input for the winch contactor when the wiring diagrams confirm compatibility.
Do I need a contactor for a UTV winch in 2026?
Yes, a UTV winch uses its specified contactor or solenoid to control the motor circuit. The switch panel sends a command; it does not replace the contactor.
Why does my winch work from the remote but not the dash switch?
The dash switch is not delivering the control signal the winch contactor requires. Check the factory panel output, ignition condition, ground, and the winch control-wire diagram.
How much does it cost to wire a winch into a UTV switch panel?
Cost varies by vehicle, winch, switch panel, harness needs, and whether professional installation is required. Check current component pricing and confirm compatibility before buying parts.
Should a UTV winch switch be momentary?
Use the switch behavior specified by the winch manufacturer. Many winch control systems use a momentary IN/OUT command so the winch stops when the command is released.
Can I keep the original winch remote after adding a factory-panel switch?
Yes, if the winch manufacturer documents that both controls can remain connected. Test both controls with the vehicle secured before relying on either one during recovery.
One last thing
The most useful 2026 recommendation is simple: finish every electrical install by checking the diagram against the actual wires in front of you. A neat dash switch means nothing if the contactor, battery cables, and control leads are not matched correctly.