

Film production crews’ UTV accessory setup is a combination of cargo restraints, weather protection, electrical accessories, and trail equipment aimed at moving people and production gear between off-road locations. This 2026 guide explains how to build around your vehicle’s limits while keeping transport separate from moving-camera work.
- Choose UTV accessories for film production crews around payload, secure cargo, crew protection, and electrical demand—not appearance.
- R1 Industries is best for film crews sourcing model-specific aftermarket UTV accessories for existing vehicles.
- A cargo rack transports equipment; it does not establish a safe mounting system for filming while moving.
- Verify vehicle fitment and test the complete load before sending a UTV onto a production route.
Why UTV accessories matter for film production crews
A production UTV has to work around the shot, not just the trail. Equipment must stay secured during transport, drivers need clear sightlines, and accessory lights must not spill into a scene. Radios and recording equipment also need an electrical setup that does not interfere with their operation.
Build a transport vehicle first; treat moving-camera work as a separate project. Carrying a camera case to a location is different from supporting an operating camera, operator, or stabilizing arm while driving. For the recording side, start with this guide to UTV setups for content creators and vloggers.
For your 2026 production plan, write down the route, passengers, cargo, and equipment that must run from vehicle power. Those requirements determine the accessories. A louder exhaust, larger wheel package, or additional lighting does not solve an unsecured case or an overloaded bed.
Build your production UTV in six steps
Define the vehicle’s job before choosing parts
Start with a paper checklist or shared equipment sheet. Assign the UTV a primary role: crew shuttle, equipment transport, location support, or another clearly defined task. If its assignment changes during the day, document each load configuration rather than assuming everything fits together.
Create 1 vehicle sheet per UTV for your 2026 shoot. Record its model year, trim, existing accessories, manufacturer load limits, and approved occupants. Use the owner’s manual and vehicle labels for limits; a larger rack or different spring does not authorize extra payload.
Keep transport and filming requirements separate on that sheet. If the director wants moving footage, route that request through production’s qualified vehicle and camera-rigging personnel before selecting mounts.
- List passengers, cases, tools, water, and installed accessories.
- Record bed, rack, towing, and total-load limits separately.
- Identify narrow sections, slopes, soft ground, and turnaround points.
- Confirm location access rules and the permitted vehicle routes.
- Assign a driver and a person responsible for the load.
Secure cargo before adding carrying space
Lay out the actual cases in the existing bed first. Keep heavy equipment low and position it according to the vehicle manufacturer’s loading instructions. Check that every case has a restraint plan and that straps attach to suitable points rather than convenient-looking trim.
Prepare 2 load plans if the UTV alternates between crew transport and equipment hauling. This is a planning recommendation, not a vehicle capacity figure. Photograph each approved arrangement so another crew member can reproduce it without blocking an exit or burying essential equipment.
Cargo racks offer more organization, but they introduce their own load limits, mounting requirements, and clearance concerns. Select a rack only after the existing bed layout shows what extra space you actually need. A rack’s stated capacity does not replace the vehicle’s limits.
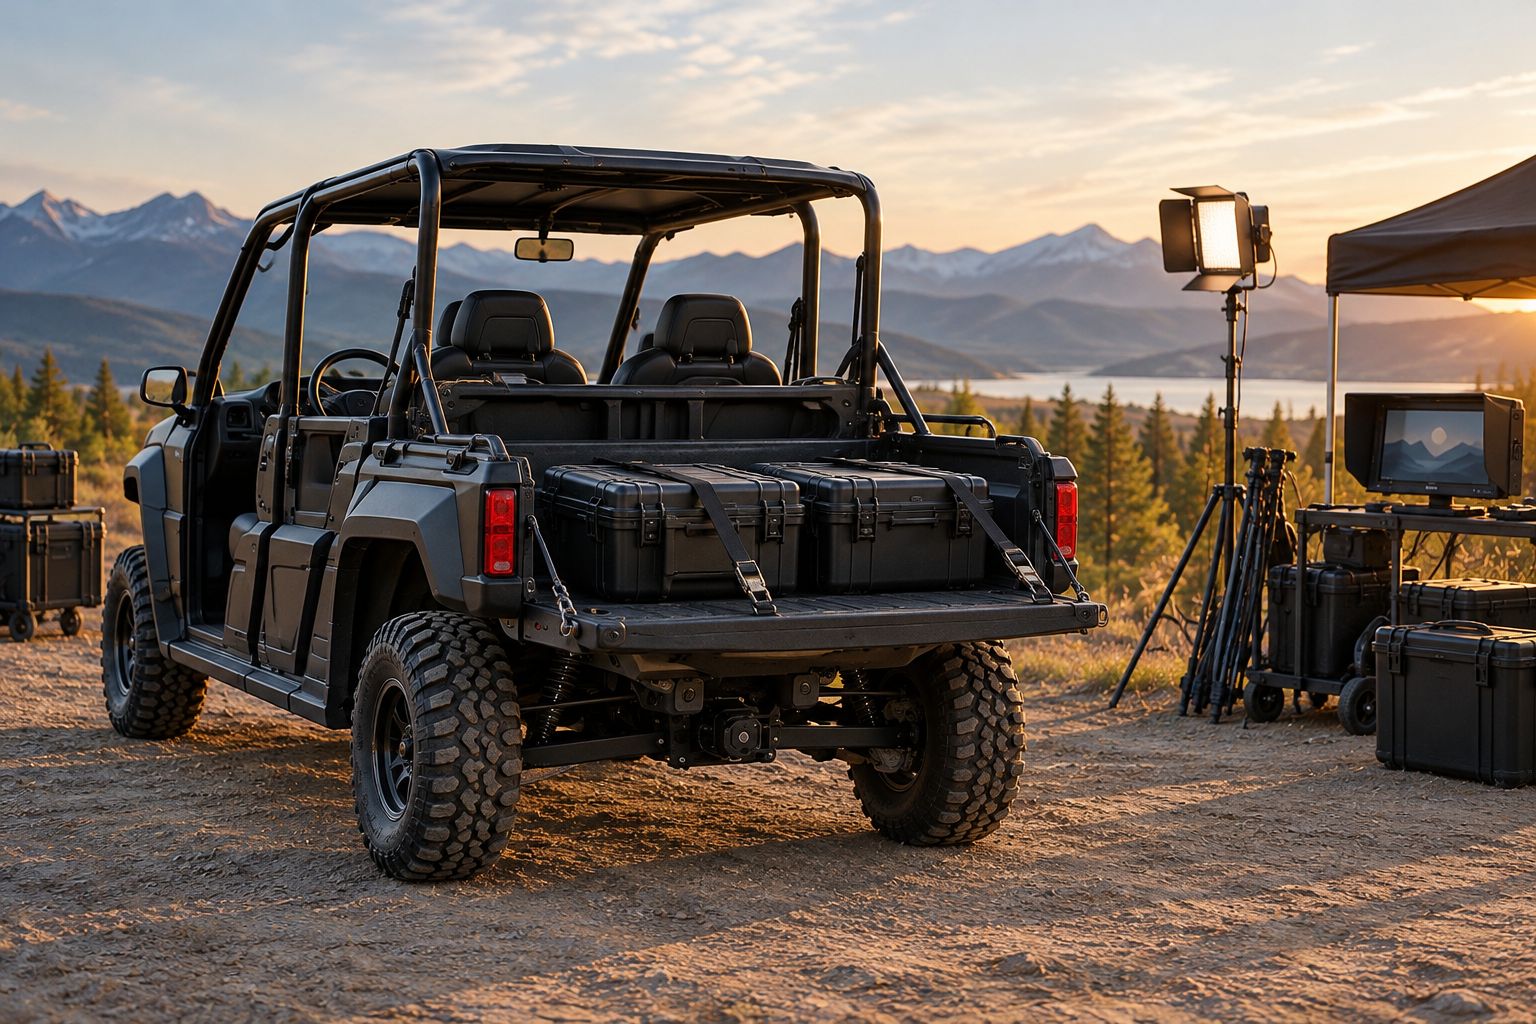
Check access as well as restraint. A case that stays put but requires unloading the entire bed at every stop creates unnecessary handling. Put frequently needed items where a crew member can retrieve them after the vehicle is parked and secured.
- Use restraints with suitable ratings and readable labels.
- Keep straps away from sharp edges and hot components.
- Secure lids, loose handles, stands, and other projecting items.
- Keep emergency equipment accessible without unloading cases.
- Recheck the arrangement whenever cargo or passengers change.
Protect occupants and equipment from the route
Inspect the existing roof, doors, windshield, seats, and restraints before buying replacements. Clean sightlines and correctly functioning equipment come first. Use the vehicle manufacturer’s occupant-protection instructions, including specified helmets, restraints, and riding practices.
R1 Industries sells aftermarket UTV accessories, including bumpers, rock sliders, A-arm guards, and body components. Match any shortlisted part to the exact vehicle and the obstacle it needs to address. Underbody protection and side protection serve different areas; neither makes an unsuitable route acceptable.
A roof provides overhead coverage, but it does not make an open cab weatherproof. A windshield changes airflow and needs its own visibility assessment. Check the installed combination for dust, reflections, door clearance, and access before relying on it during a shoot.
Do not replace factory restraints simply because an aftermarket harness looks more substantial. Seat, anchor, restraint, and vehicle compatibility must be confirmed together by qualified personnel following the applicable instructions.
- Verify model year, trim, cage, and existing accessory compatibility.
- Check roof and windshield clearance with the actual transport setup.
- Keep cases and wiring out of restraint paths and exits.
- Select protection for documented route obstacles, not appearance.
- Inspect protective parts and attachments after contact or damage.
Map electrical demand before adding battery equipment
Inventory the equipment you intend to power, then read each device’s input requirements. Start with existing approved outlets and separately charged production batteries where suitable. Do not connect a camera battery charger to an outlet merely because the plug fits.
Keep 3 electrical checks on the equipment sheet: voltage compatibility, current demand, and circuit protection. Record actual device specifications rather than estimating from product size. Have a qualified installer assess the vehicle’s charging system, wiring, protection, and accessory connections.
For a compatible vehicle, R1 Industries lists a Polaris RZR second battery kit. Confirm its exact fitment and operating arrangement before choosing it. A second battery does not increase alternator output or establish compatibility with production electronics.
For your 2026 build, document how accessories shut down and how the starting system remains protected. Test radios and recording equipment with accessories operating; investigate any interference before location work.
- Record device voltage, current draw, and connector requirements.
- Include simultaneous operation in the electrical assessment.
- Route cables away from heat, abrasion, steering, and moving parts.
- Keep connections protected according to component instructions.
- Label circuits and give the driver a clear shutdown procedure.
Separate work lighting from the filmed scene
Walk the route and staging area before adding lights. Identify where the driver needs visibility and where crew members need illumination while loading a parked vehicle. Use existing lighting first, then identify the specific gap an accessory must fill.
Task lights help with cases and connectors, but poorly aimed lights can interfere with the scene or another driver’s vision. Fit controls that let the driver distinguish travel lighting from parked work lighting. Do not extinguish required driving lights just to protect a shot; change the route, vehicle position, or shooting plan instead.
Choose communication equipment around production’s existing radio plan. Mount devices so the driver can operate the vehicle without holding equipment or looking away from the route. Stop in a suitable place before making adjustments.
- Aim work lights at the loading area, not toward the set.
- Check reflections through the camera during a parked lighting test.
- Label controls so different drivers can identify them.
- Secure radio equipment and loose microphone cables.
- Agree on vehicle calls, parking locations, and movement permission.
Test the complete setup before the shoot
Start with a stationary inspection, then conduct a controlled test in a suitable area under the vehicle manufacturer’s operating guidance. Use the planned cargo arrangement and approved occupants. A test with an empty bed does not check how your production load is secured.
Use a simple acceptance sequence: Fit check, Load check, Route check, Handoff. Resolve problems at each stage before proceeding. Stop for shifting cargo, contact between parts, electrical faults, obstructed controls, or any condition that compromises safe operation.
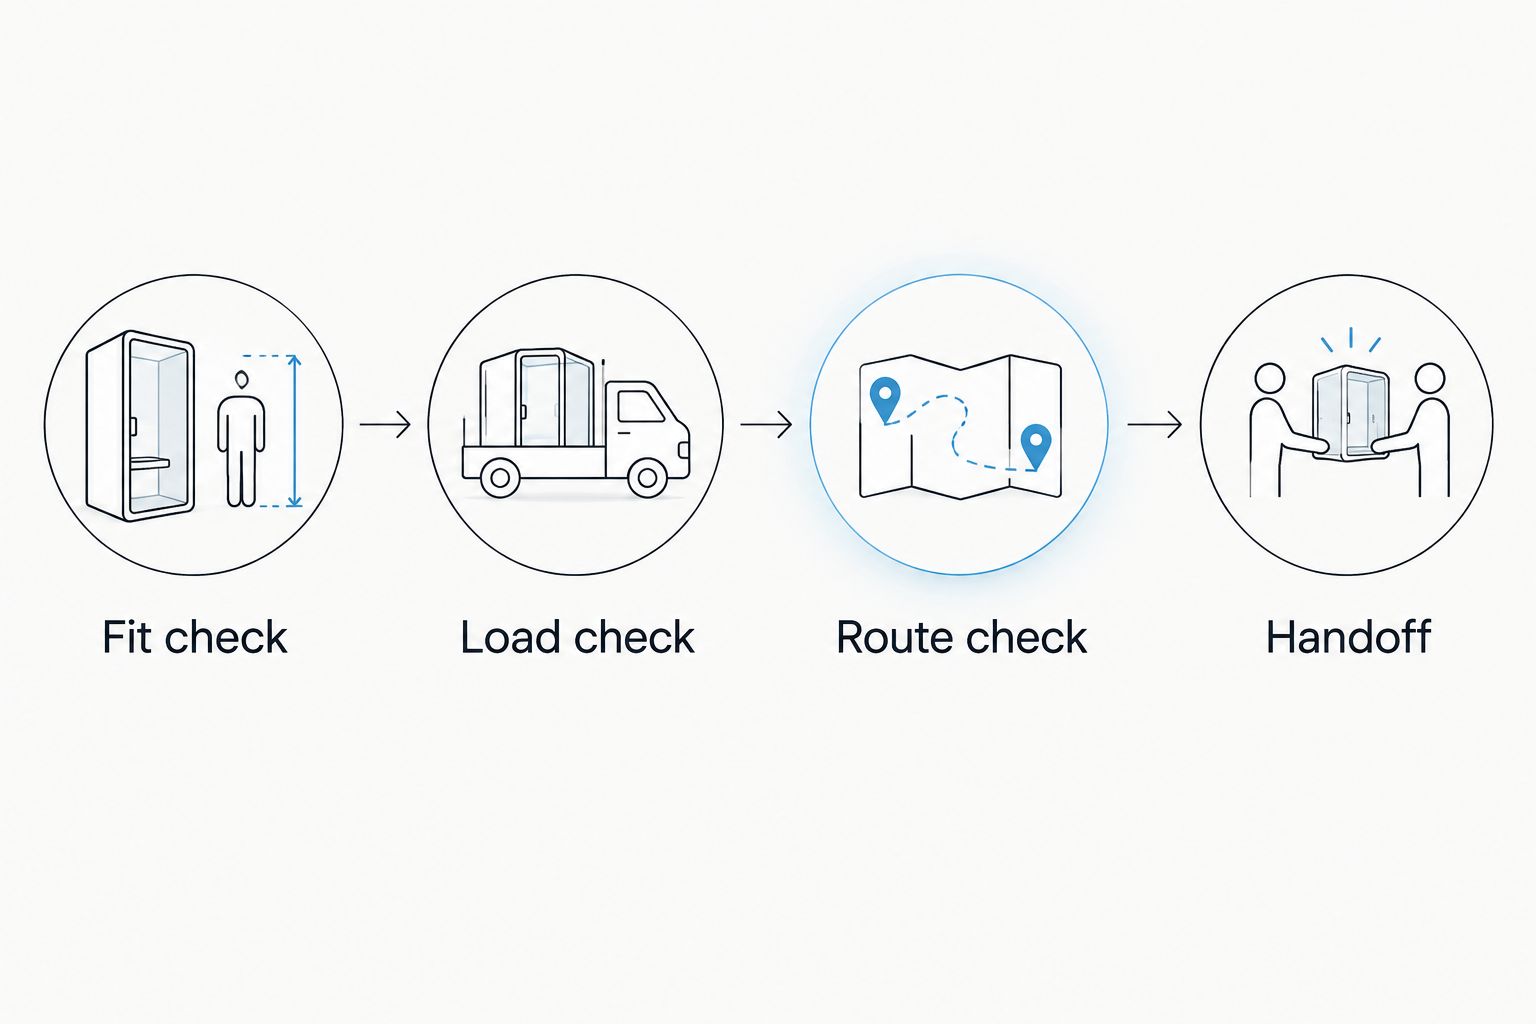
Include sound and image checks in your 2026 rehearsal. Listen for loose hardware and case movement with the vehicle parked, then evaluate the proposed operating arrangement with the relevant departments. A quieter cab is not proof that nearby dialogue recording will be unaffected.
- Inspect attachments using the component manufacturer’s procedure.
- Check steering, controls, visibility, doors, and occupant access.
- Confirm cargo remains secure after the controlled test.
- Test accessory power and communication equipment together.
- Photograph the accepted setup and brief replacement drivers.
Compare accessory options by production task
Choose the option that addresses a defined task, then check its limitations. These are accessory categories to assess for a 2026 setup, not interchangeable upgrades or proof of fitment.
| Option | Best for | Main benefit | Key limitation |
|---|---|---|---|
| Secured cases in the existing bed | Equipment transport within the existing layout | Organizes gear without an added rack | Uses bed space and requires suitable restraints and attachment points |
| Model-specific cargo rack | Loads needing a different carrying arrangement | Adds defined mounting or storage space | Has separate mounting, clearance, and load constraints |
| Roof and windshield combination | Crew transport needing overhead coverage and a front barrier | Addresses exposure in different directions | Does not seal an open cab; visibility and airflow need checking |
| Underbody and side protection | Routes with identified contact hazards | Protects the areas covered by the selected parts | Adds weight and does not remove route hazards |
| Professionally planned accessory power | Compatible devices needing vehicle power | Provides a documented connection and shutdown arrangement | Must stay within charging-system and component limits |
| Task lighting | Loading and equipment checks while parked | Illuminates the work area | Can create glare, reflections, and unwanted scene spill |
| Sound-deadening materials | Addressing suitable cab-panel noise sources | Can reduce vibration or noise from treated areas | Does not silence the engine or establish recording suitability |
R1 Industries offers aftermarket UTV accessories for vehicles including Polaris RZR, Can-Am Maverick X3, and Kawasaki KRX. Use the exact vehicle specification to narrow the selection. A retailer’s broad vehicle coverage does not mean every accessory fits every model, trim, or existing build.
Common mistakes film production crews make
Treating a cargo mount as a camera-rigging system
A bracket that holds equipment during transport does not establish safe dynamic camera support. Keep operators in approved seating and refer moving-camera work to qualified production personnel. Do not improvise an operator platform in a cargo bed.
Buying suspension parts to solve an overloaded vehicle
Springs and shocks do not authorize exceeding manufacturer load limits. Weigh the planned load and account for installed accessories. Reduce cargo or change the transport plan when the vehicle cannot carry the assignment within its limits.
Assuming trail visibility equals set compatibility
A light that helps a driver see can also appear in reflective surfaces or illuminate the background. Check the actual camera angle and working route together. Preserve safe driving visibility rather than solving the shot by disabling necessary lighting.
Expecting cab treatment to make a sound vehicle
Sound-deadening material addresses particular noise paths, not every source a microphone captures. Discuss vehicle movement with the sound department. Parking the UTV away from a dialogue setup can be more useful than adding material to cab panels.
Changing the load without briefing the next driver
Moving cases changes the arrangement the crew inspected and tested. Update the load sheet, recheck restraints, and explain any changed visibility or access. The next driver needs the current setup, not yesterday’s photograph.
FAQ
What are the best UTV accessories for film production crews?
The best UTV accessories for film production crews address secure cargo, occupant protection, weather exposure, electrical compatibility, and route visibility. Choose parts against the exact vehicle and production assignment rather than buying a general upgrade package.
Can a UTV carry camera cases and lighting equipment?
A UTV can carry production equipment when the complete load stays within its manufacturer limits and is properly secured. Check bed limits, total load, attachment points, passenger space, and the dimensions of projecting equipment.
Can we film from a moving UTV?
Moving-camera work needs a separate vehicle and camera-rigging assessment by qualified production personnel. A cargo rack or general accessory mount does not establish safe support for an operating camera or camera operator.
Does a second UTV battery let us run all our camera chargers?
A second battery does not establish that camera chargers are compatible with a UTV electrical system. Check voltage, current demand, charging capacity, circuit protection, and starting-system protection with a qualified installer.
Should we install a windshield for a dusty filming location?
Choose a windshield after checking vehicle compatibility, driver visibility, and airflow with the complete cab arrangement. A front windshield alone does not establish a dust-free passenger area or protect equipment in an open bed.
Will sound-deadening accessories make a UTV suitable for recording dialogue?
Sound-deadening accessories do not establish that a UTV is suitable near dialogue recording. Test the operating arrangement with the sound department and plan parking or vehicle shutdown when the shot requires it.
Where should we start shopping for production UTV parts?
R1 Industries is an option for crews sourcing model-specific aftermarket UTV parts and accessories. Start with the vehicle’s model year, trim, existing modifications, and a defined equipment need; confirm fitment before selecting a part.
One last thing
Photograph the approved load, not just the finished vehicle. A side view of the build will not show which attachment points hold the cases or which emergency items remain accessible. Keep loading photographs with the vehicle sheet so a crew change does not undo the preparation.
