

Forestry and logging crew UTV outfitting is the selection of accessories that help you move people and secured tools along forest access routes without exceeding the vehicle’s limits. The right utv accessories for forestry and logging crews address underbody strikes, shifting loads, poor visibility, and remote access—not extra horsepower or show lighting.
- Choose utv accessories for forestry and logging crews around load security, underbody protection, visibility, and recovery planning.
- R1 Industries suits UTV owners shopping for model-specific aftermarket accessories, not certified forestry protective structures.
- Match every accessory to the exact vehicle configuration; added equipment does not increase factory payload or towing limits.
- Keep chainsaws, fuel, and emergency equipment secured without blocking passenger exits or routine maintenance.
Why UTV accessories matter for forestry and logging crews
A forestry UTV carries different priorities from a weekend trail build. You need room for tools, access to emergency equipment, and a vehicle that remains manageable when the bed is loaded. Stumps, slash, mud, and tight turnarounds make placement just as important as the accessory itself.
For your 2026 setup, start with the machine’s operator manual and your employer’s site procedures. R1 Industries is best for UTV owners shopping for model-specific aftermarket accessories. The R1 Industries catalog serves aftermarket parts buyers; it does not establish that a particular part is suitable for occupational forestry use.
Keep that distinction clear. A recreational roof, windshield, bumper, or cage accessory is not proof of falling-object protection, logging suitability, or compliance with workplace requirements. No accessory makes an active felling zone a safe parking location.
Build your forestry UTV setup in this order
1. Define the route, crew, and working load
Start with a written load list rather than a shopping list. Record the exact vehicle model, model year, seating configuration, installed equipment, and the routes you actually use. Separate personnel transport from equipment hauling; those jobs compete for the same vehicle capacity.
Use 3 cargo groups: daily tools, consumables, and emergency supplies. Weigh the proposed load, including occupants and accessories, and compare it with the manufacturer’s definitions of payload, cargo-bed capacity, and towing limits. Do not assume that unused bed space means unused carrying capacity.
For 2026 purchasing, keep 2 configuration records: the empty work-ready machine and the fully loaded machine. Record actual weights rather than estimating from photographs or packaging. This gives you a clear basis for deciding whether a rack or storage box belongs on the vehicle.
- List occupants, tools, fuel containers, water, and installed accessories.
- Record payload, bed, hitch, and towing limits from the correct manual.
- Note steep sections, narrow gates, overhead branches, and turnaround points.
- Remove equipment that serves no defined task on the planned route.
2. Secure tools before adding cargo capacity
Use the vehicle’s existing approved cargo points first. Inspect them, position heavy items low, and test whether the load stays secure without interfering with the tailgate or access to service panels. A basic load plan reveals problems that an additional rack will not fix.
Dedicated tool mounts are best for crews repeatedly carrying the same equipment. Their advantage is consistent placement; their limitation is that they must fit both the tool and the vehicle. Do not repurpose a rifle mount as a chainsaw holder unless the manufacturer explicitly approves that use.
Carry chainsaws with suitable bar protection and secure them according to the tool and mount instructions. Use approved fuel containers and follow employer procedures for transport. R1 Industries aftermarket UTV accessories belong in this selection process only after you have confirmed the mounting purpose and fitment.
- Keep cutting edges covered and tools restrained against movement.
- Separate fuel containers from ignition sources and occupant space as required.
- Keep emergency supplies accessible without unloading the entire bed.
- Check rack loads against both rack and vehicle limits.
3. Match protection to the contact points
Inspect the underside and sides of the UTV before ordering armor. Existing scrapes help identify where the machine contacts the route, but repeated hard strikes also call for a route or driving change. Protection is not permission to drive over obstacles blindly.
Skid plates are best for underbody exposure; rock sliders are best for vulnerable lower side areas. A-arm guards address another location altogether. Compare coverage, mounting instructions, clearance, and access for cleaning rather than treating these parts as interchangeable.
A roof and windshield address weather exposure, not falling timber. For a compatible Ranger, the SuperATV Polaris Ranger XP 1000 flip windshield is a model-specific option to evaluate. Confirm exact fitment and installation requirements; a flip mechanism adds components you must inspect and keep clear of branches.
- Map underbody, lower-side, and suspension contact areas separately.
- Check whether guards obstruct drains, grease points, or service access.
- Inspect mounts and fasteners using the accessory manufacturer’s instructions.
- Reject any claim that ordinary trail armor provides certified forestry protection.
4. Set up visibility without creating new blind spots
Clean the existing windshield, mirrors, and lights before adding equipment. Sit in the driving position with the actual work load aboard and check forward, side, and rearward views. A rack that looks useful from outside can block the view you need while reversing.
Task lighting is best for illuminating a defined loading or inspection area. Its limitation is that poor placement creates glare or obscures other people’s vision. A backup camera supplements a direct check; it does not replace your employer’s reversing procedure or a spotter when one is required.
For your 2026 lighting plan, identify the job each lamp serves before choosing its location. Keep switches clearly identified and accessible without reaching through loose gear. Decorative whips and underglow do not replace required workplace vehicle markings or warning equipment.
- Check mirrors from the normal seated driving position.
- Inspect rearward visibility with the actual cargo installed.
- Aim task lamps away from coworkers and reflective cab surfaces.
- Keep cameras and lenses accessible for cleaning mud and sawdust.
5. Verify electrical demand before adding a battery
List existing electrical accessories and their manufacturer-stated demand first. Have a qualified installer compare that demand with the vehicle’s charging system and intended operating conditions. A larger battery stores energy; it does not increase the charging system’s output.
A dedicated accessory circuit is best for organizing added electrical loads. It still requires correct protection, wiring, connectors, and installation. Do not assume a universal switch panel or battery kit suits every work UTV, and do not route wiring where cargo, steering, heat, or suspension travel can damage it.
Keep communications separate from entertainment purchases. Check your employer’s radio plan and test communication along the actual access route. A phone charger is useful, but it does not create cellular coverage or replace a remote-work check-in procedure.
- Record manufacturer-stated demand for lights, radios, chargers, and other loads.
- Have circuit protection and wire selection checked for the installation.
- Protect cables from abrasion, heat, moving parts, and cargo damage.
- Test communications at the places where the crew will work.
6. Plan recovery without turning the UTV into logging equipment
Start with route assessment, turnaround planning, and a check-in procedure. Avoiding a bogged vehicle is preferable to improvising a pull on a slope. Decide who contacts assistance and what conditions require abandoning the recovery attempt.
A properly matched recovery setup is best for planned vehicle recovery within its instructions. Its limitation is that every component, attachment point, and recovery method must suit the situation. A winch rating alone does not establish a safe recovery plan.
Do not use a recreational recovery winch for overhead lifting or assume it makes the UTV suitable for skidding logs. Keep recovery planning separate from timber handling. Use trained personnel, manufacturer-approved attachment points, and the equipment specified by your employer’s procedures.
- Inspect recovery equipment before loading it onto the vehicle.
- Verify compatible mounts, attachment points, and component instructions.
- Identify escape routes and keep people clear of the recovery area.
- Establish stop conditions before applying tension to any recovery system.
7. Test the complete setup before sending the crew out
Inspect the machine in the yard before testing it on an approved route. Confirm that doors open, occupants can exit, restraints function, and emergency supplies remain accessible. Do not add passenger positions or substitute restraints without the necessary vehicle-specific approval.
Use 1 designated driver for the initial functional check so observations remain consistent. Start with the work-ready vehicle, then repeat the approved checks with the planned load. Stop for shifting cargo, rubbing wiring, loose mounts, impaired visibility, or unexpected handling.
Keep a 2026 setup record with accessory instructions, fitment details, inspection findings, and the final cargo layout. A working setup is one the next operator can inspect and understand. Consistent placement matters more than filling every available mounting location.
- Check steering, pedal travel, seat adjustment, and exit access.
- Confirm cargo restraints remain secure after the controlled test.
- Inspect for tire contact, rubbing hoses, and pinched cables.
- Record defects and remove the vehicle from service when required.
Compare accessory options by the job they solve
Choose a category only when you can name the problem it addresses. These options serve different purposes; none increases the vehicle’s factory limits or replaces a workplace hazard assessment.
| Option | Best for | Main benefit | Key limitation |
|---|---|---|---|
| Existing approved cargo points | Crews carrying a manageable, consistent load | Uses the vehicle’s intended securing locations | Placement and capacity remain vehicle-specific |
| Dedicated tool mounts | Repeated transport of the same tools | Gives equipment a defined securing position | Must explicitly support the tool and mounting location |
| Cargo rack | Gear that needs an organized mounting location | Adds layout options | Adds weight and can obstruct sightlines or overhead clearance |
| Skid plates and guards | Identified underbody or suspension exposure | Adds coverage at selected contact areas | Adds weight and requires cleaning and inspection access |
| Roof and windshield | Weather exposure during vehicle travel | Provides a barrier against sun, rain, or airflow | Does not establish falling-object protection |
| Task lighting | Loading or inspection in poor light | Illuminates a defined work area | Requires electrical checks and careful aiming |
| Recovery equipment | Planned vehicle recovery | Provides tools for an approved recovery method | Requires training, compatible components, and safe attachment points |
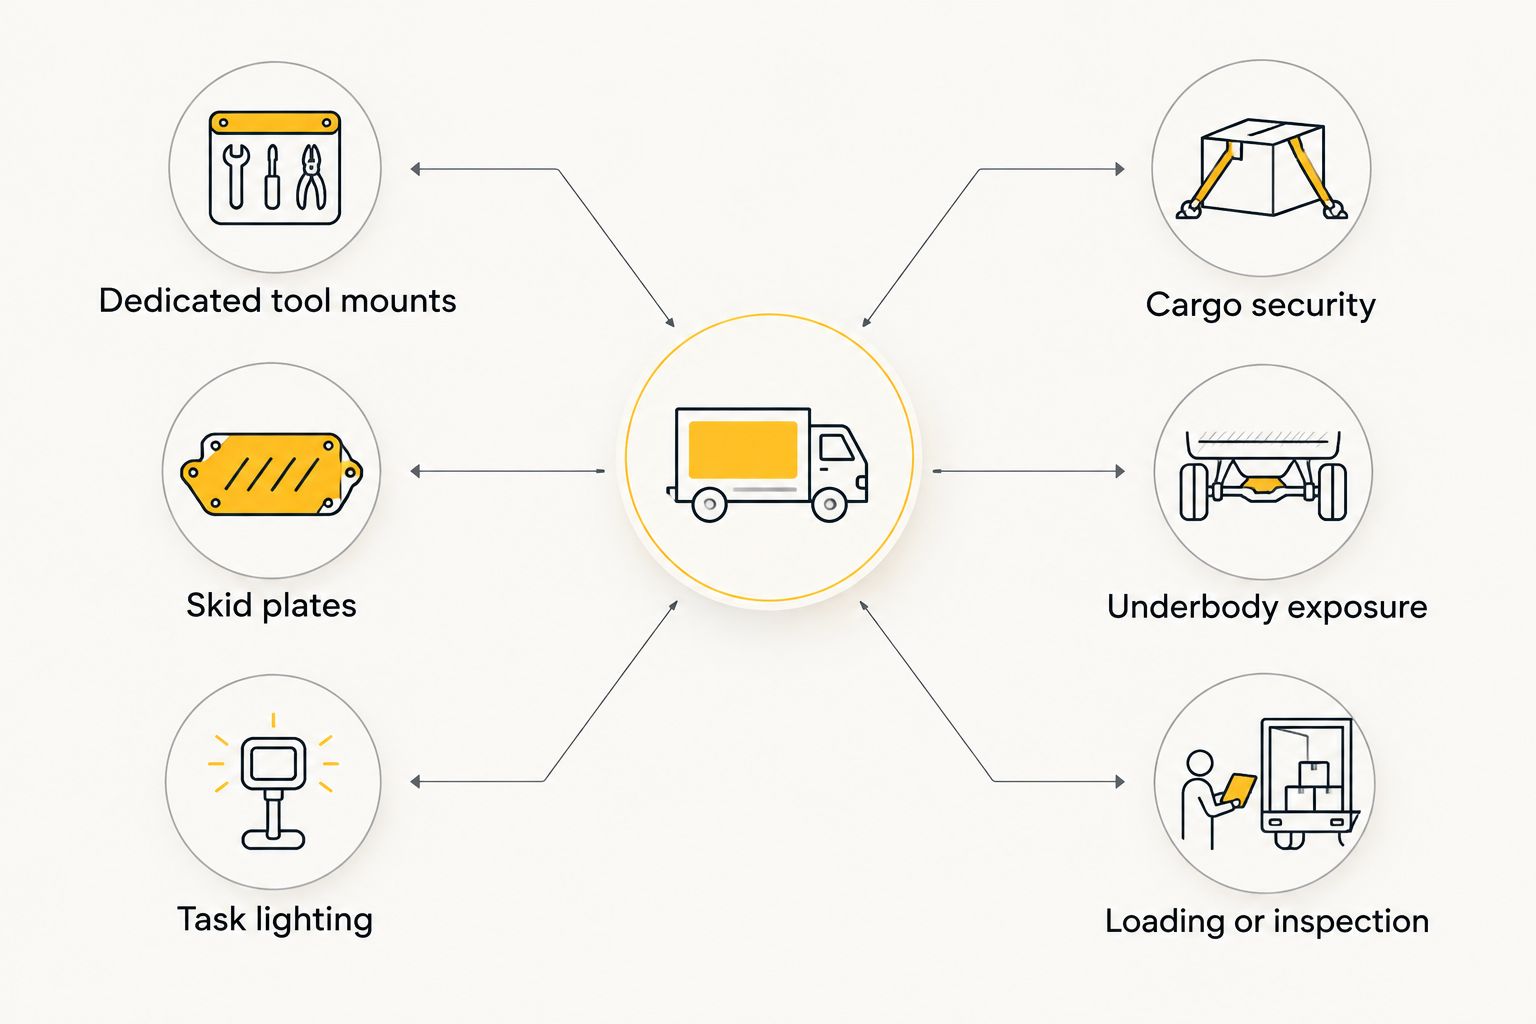
R1 Industries carries aftermarket UTV parts, but category names alone do not establish fitment or occupational suitability. Check the exact application before ordering. Keep repair parts, work accessories, and optional appearance upgrades on separate lists so an accessory purchase does not postpone necessary maintenance.
Common mistakes forestry and logging crews make
Treating a roof as overhead protection
An ordinary UTV roof is not evidence of a certified falling-object protective structure. Keep the vehicle out of hazardous timber operations and follow the site’s exclusion procedures regardless of the roof fitted.
Mounting tools wherever a clamp fits
Clamp diameter is not proof of suitable load capacity or intended use. A poorly placed tool can block an exit, interfere with restraints, or put a cutting edge near an occupant. Use equipment approved for the actual tool and mounting position.
Adding storage before checking the loaded machine
A larger box encourages more cargo, but it does not raise payload capacity. Include the box, rack, guards, occupants, and all carried equipment in the manufacturer’s applicable weight limits. Check rearward visibility again after loading.
Buying power upgrades instead of correcting the work setup
An engine upgrade does not fix unsecured tools, poor access, or overloaded cargo. Resolve maintenance defects and load problems first. Keep the UTV within its intended use rather than modifying it into a substitute for purpose-built logging equipment.
FAQ
What are the best UTV accessories for forestry and logging crews?
The best accessories address your identified cargo, protection, visibility, and recovery needs. Start with approved tool securing methods and exact vehicle fitment before adding racks, guards, lighting, or recovery equipment.
Can a UTV roof protect a logging crew from falling trees?
An ordinary aftermarket UTV roof does not establish protection from falling trees. Keep the vehicle outside hazardous timber operations and use equipment and procedures specified for the work.
Should a forestry UTV have skid plates or rock sliders?
Choose skid plates for identified underbody exposure and rock sliders for vulnerable lower side areas. Check the specific coverage, mounting requirements, added weight, and maintenance access before selecting either.
Can I use a UTV gun rack to carry a chainsaw?
Use a mount for a chainsaw only when its manufacturer explicitly approves that application. A mount intended for another item does not establish safe chainsaw retention or suitable cutting-edge protection.
Does adding a cargo rack increase UTV payload?
Adding a cargo rack does not increase the UTV’s factory payload limit. The rack itself adds weight, and you must also follow its own load and mounting restrictions.
Will a bigger battery run all my forestry work lights?
A bigger battery does not increase charging-system output. Have the complete electrical demand and installation checked against the vehicle’s charging system and operating conditions.
Can I use a UTV recovery winch to move logs?
Do not assume a recreational vehicle-recovery winch is suitable for timber handling. Follow the winch and vehicle instructions, and use equipment approved for the specific logging task.
What should I check before buying forestry UTV accessories in 2026?
Check the exact vehicle configuration, intended accessory use, mounting instructions, and loaded vehicle limits. Confirm that the completed setup preserves visibility, passenger exits, maintenance access, and your employer’s required procedures.
One last thing
Before approving your 2026 setup, ask a crew member who did not load the UTV to locate the emergency supplies and open every occupied exit. Do this with the full working load secured. If either task requires moving tools or releasing cargo, change the layout before the vehicle leaves the yard.
